Quick Start for Bluebeam REVU
You should have received an email invitation to join a project from a project manager at Missouri S&T. To get started using Bluebeam Revu for markup, the general procedure will be as follows:
- Download and install the Bluebeam Revu application
- Sign up as a Bluebeam user
- Use the email to register for the project to which you have been invited
- Use the markup functions of Revu to update the project with your notations
Additional Resources
There are two options for download of the Bluebeam application. Bluebeam Vu 2017 is a depreciated viewer that can still be used to view the projects to which you have been invited. The better and recommended option is to download Bluebeam Revu 2018 and use the view mode. Both are free and can be used to access and markup project files. The following instructions are for Bluebeam Revu. The installation process for Bluebeam Vu is similar.
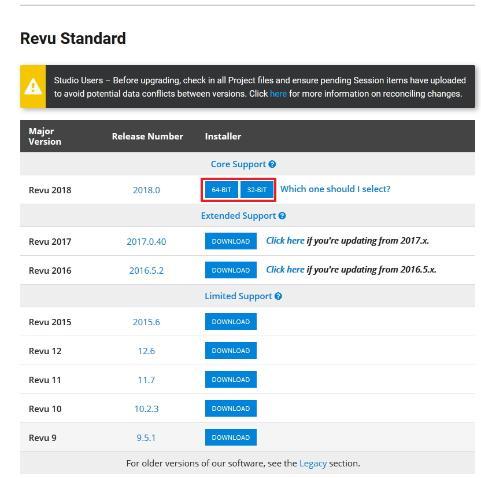
You will need to select a 32-bit or 64-bit version depending on your system's configuration and you will automatically get a 30-day free trail of the full version. Once the 30-day trial is finished, you can change to the view only mode by selecting Revu-->View Mode from the main menu. This will maintain the free version capabilities.
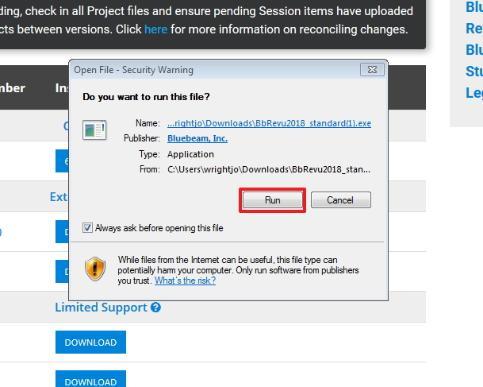
Using your preferred browser, selecting the button above for your version choice will begin a file download automatically. Once the download is complete, run the program to begin the installation process. If you get a security warning, select 'Run' to continue.
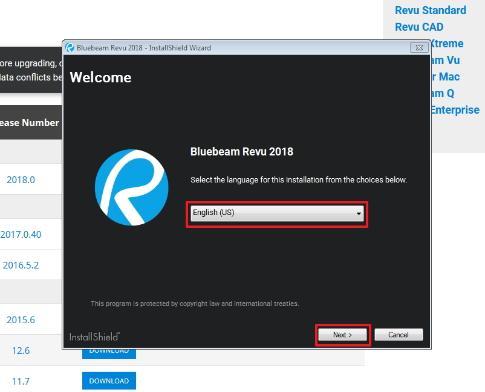
The installation will then begin with an intro screen where you can change the language if necessary. Select 'Next' to continue.
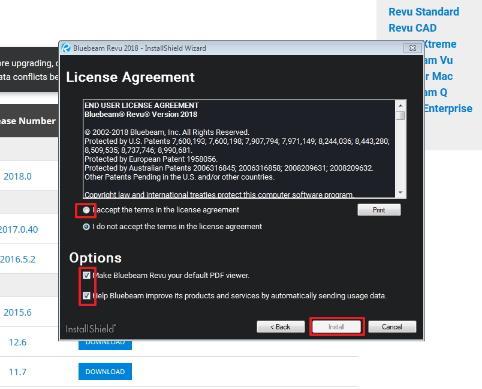
You wil then need to agree to the terms and conditions of the license. You can also select options for making Revu your default PDF viewer and whether you want to send anonymous statistics about Bluebeam to help the product improvement. Both options default to with the checkmarks, so make sure to uncheck if you choose to not allow one or both.
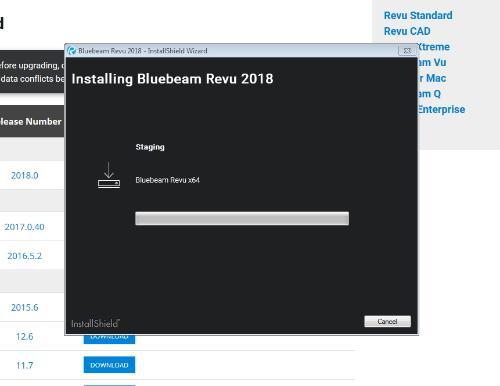
Bluebeam Revu will then commence with installation.
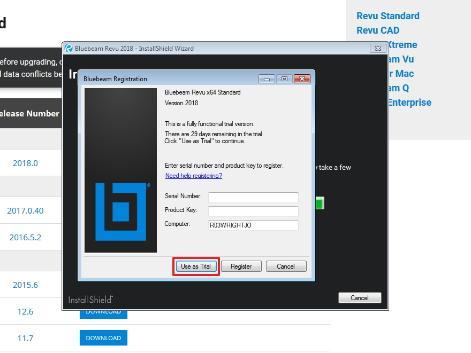
Upon completion of the install, you will be asked to register the product. If you have purchased the Revu package, enter you serial number and product key where provided. If you are going to use the free version, select "Use as Trial".
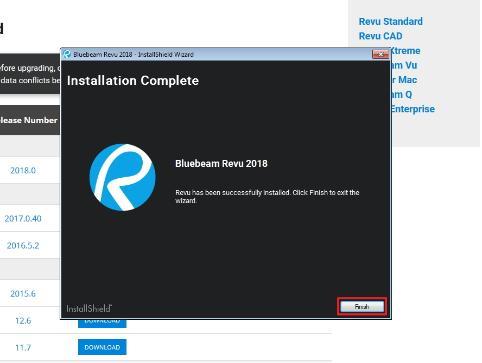
Once the installation process has completed, you will be shown an 'Installation Complete" window. Select "Finish" to end and close the installation process.
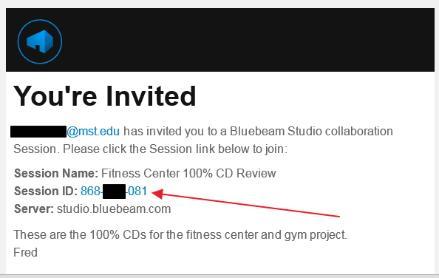
Select the Session ID hyperlink from the email you received with the invitation. The email and full Session ID has been blacked out for security purposes.

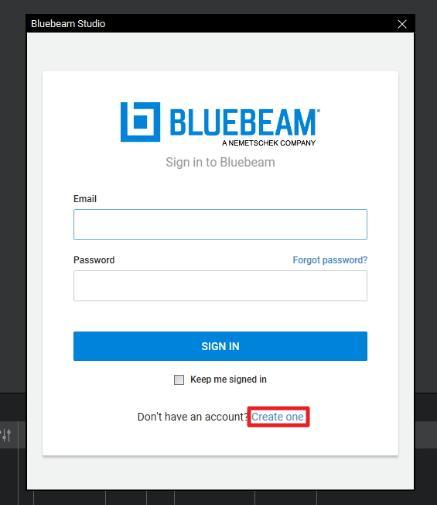
The installed version of Bluebeam will load and there will be a Bluebeam Studio Sign In. If you already have an account, you can enter your login information and the project will register. To create an account, the bottom of the login box will display "Don't have and account? Create One". Select the "Create One" hyperlink to begin.
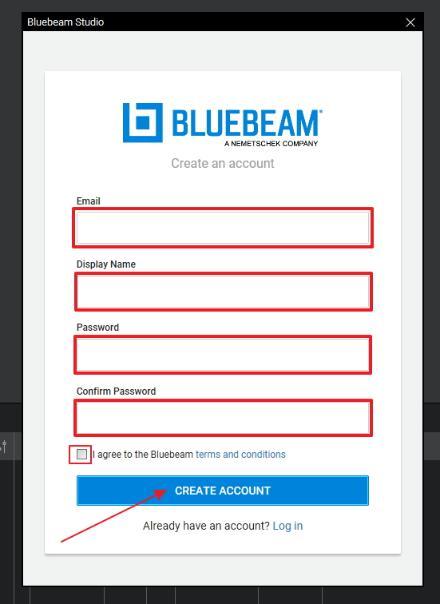
You will be prompted for the information required to create a new account. Enter your email, display name, password (again to confirm) and then agree to the terms and conditions. A confirmation email will be sent that will require you to validate your email address.
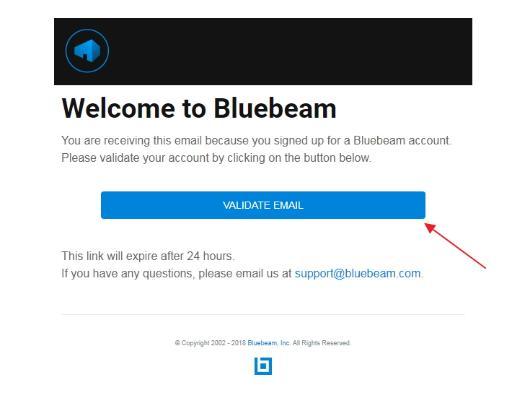
You will need to go to your email and Validate your new account before you can gain full access privileges.
Once the account has been validated, you will have full access to all the tools available in Bluebeam Revu (free version for view and markup only). If this process was started from the email invitation, the project you were invited to will also register in the software and the files for the project will be accessible.
Once all of the software is installed and a user has been created, then it is time to register the project for your use in Bluebeam Revu. If you set up the user account from the link in the invitation email, chances are the project has already been registered. To ensure the process has completed, start from the invitation email and select the Session ID hyperlink. The email and full Session ID have been blacked out for security purposes.
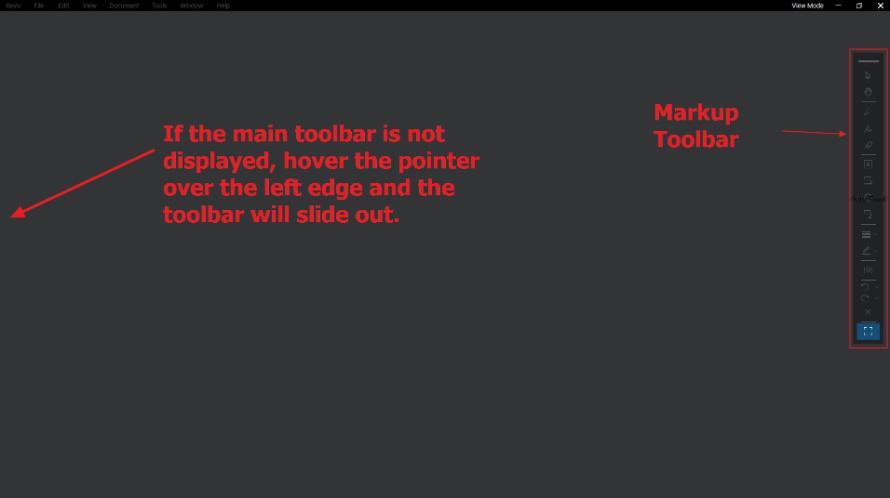
When Bluebeam Revu is first opened, the initial desktop is a blank slate. The markup toolbar will be displayed on the right and the main toolbar will be on the left. If it is not being displayed, hover over the left side and the toolbar will slide out. Once it is out, you can right-click on the bar and set the properties to turn off the auto-hide feature.
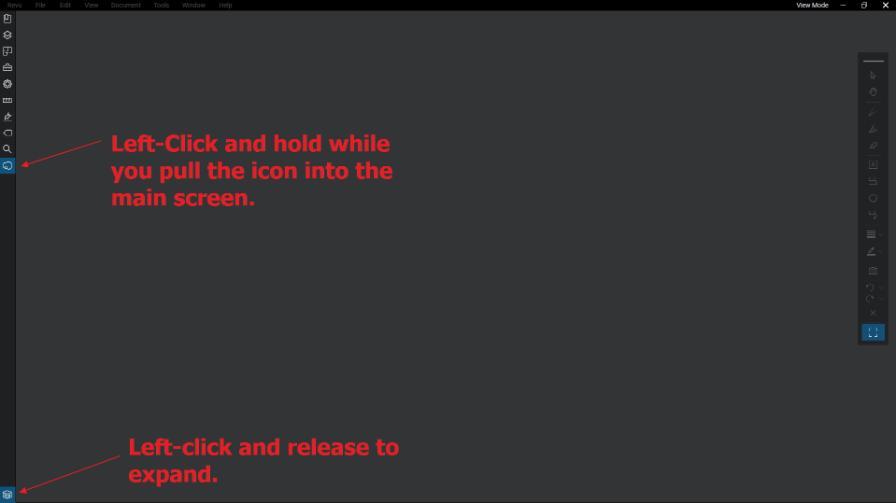
Once you have the main toolbar displayed, select the building icon (right-click) and hold to drag the Studio Toolbar to the main screen. When it is released, it will leave the toolbar in the main screen area. A left-click on the bottom left icon, will display the 3D/Javascript History tools. You can then resize both the studio and the 3D/Markup History to your desired size. If you are currently logged out of Bluebeam, the Studio toolbar will have a "Sign In" button that can be used to login. You can also click "Keep Me Signed In" check box to keep you logged into Bluebeam Revu every time it is started. Once you are logged in, the Studio toolbar will display the projects you are currently authorized to access.
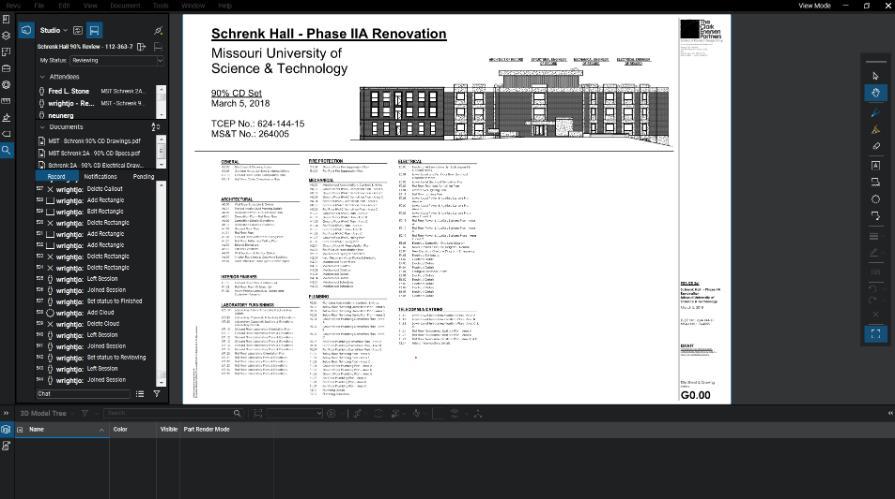
Your screen should now look similar to the one below. By selecting one of the projects out of the Studio Toolbar, the project will be displayed in the main area and you may begin using the Markup Tools.
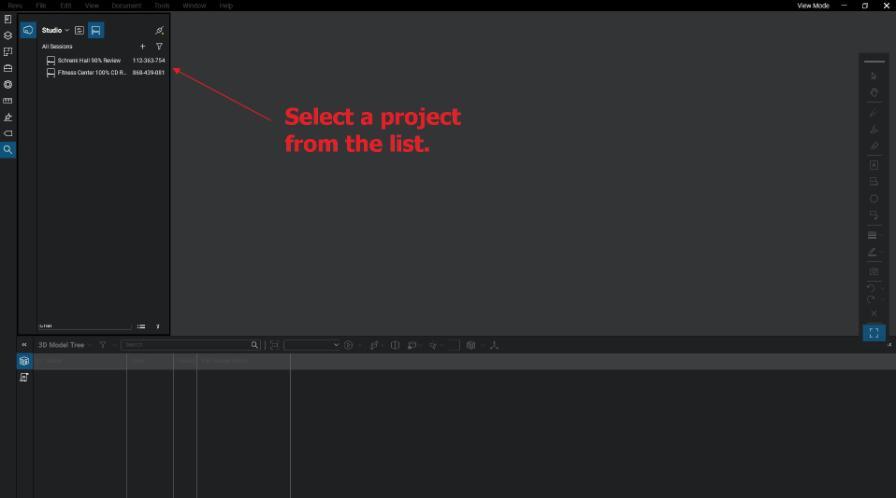
Once you have a project selected, the associated documents will be display in the Studio Toolbar and the one selected will be displayed in the main display area as exampled below.
This completes the initial setup of the necessary tools to be able to begin adding markups to the project. Realize that the Revu desktop is completely customizable. Feel free to experiment until the layout appeals to your style of working. The Additional Resources contains all the documentation necessary to learn as much as you would like about customizing and using Bluebeam Review.
Once you have set up your first project using the instructions in the above section, then adding markup is as simple as selecting the type of markup from toolbar, then selecting where you want to put it on document. Once it is place, if there is text to be entered, you will be prompted for the text to be input.
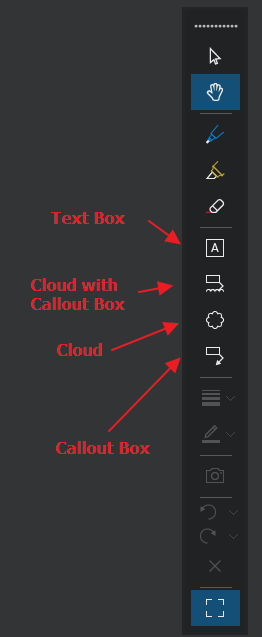
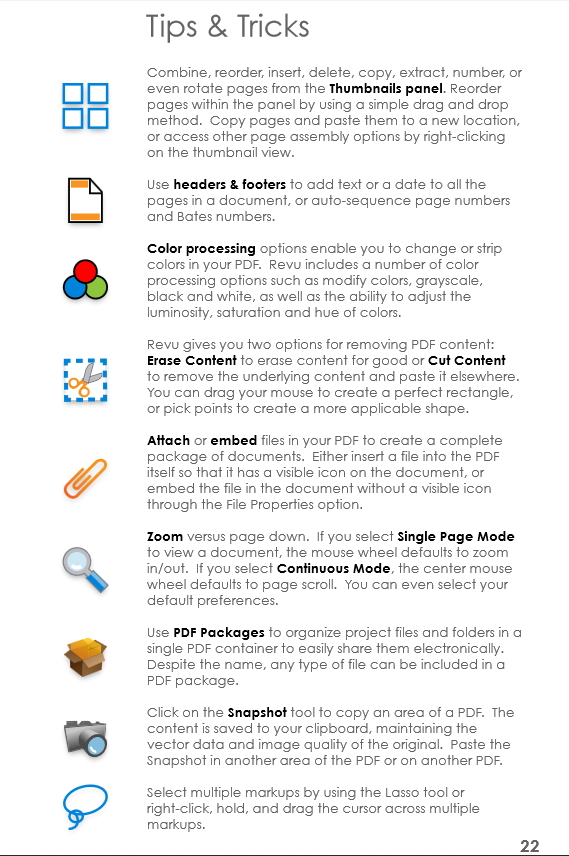
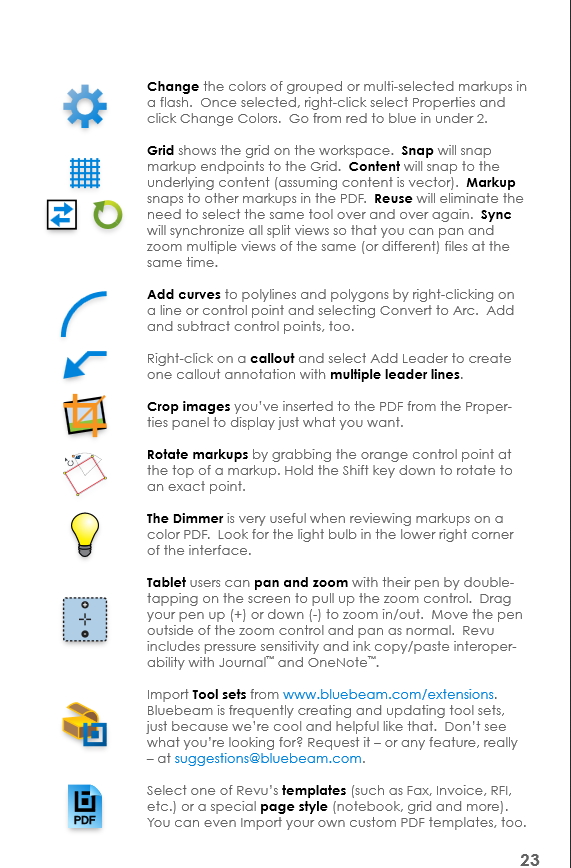
In addition, here are some quick tips that you can also find in the Quick Start Guide.